Winter has arrived, a season to get your board out for a slippery ride down the hill. First-timers may be wondering about what to buy along with a well-established skier reviewing their purchase.
All that will be discussed with a brief introduction to what a splitboard is, its different shapes, and the positives of owning one.
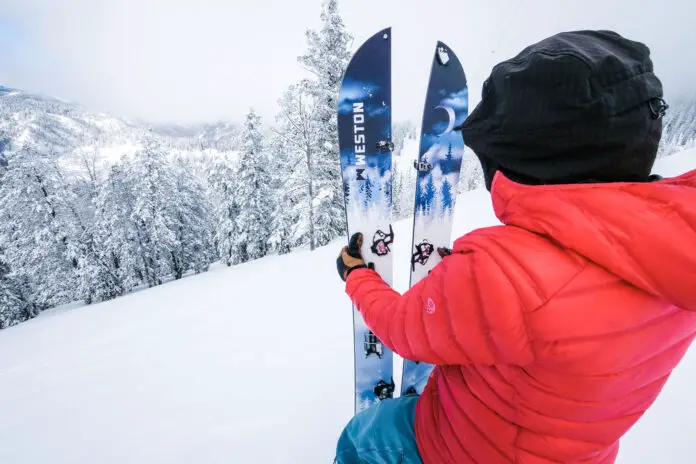
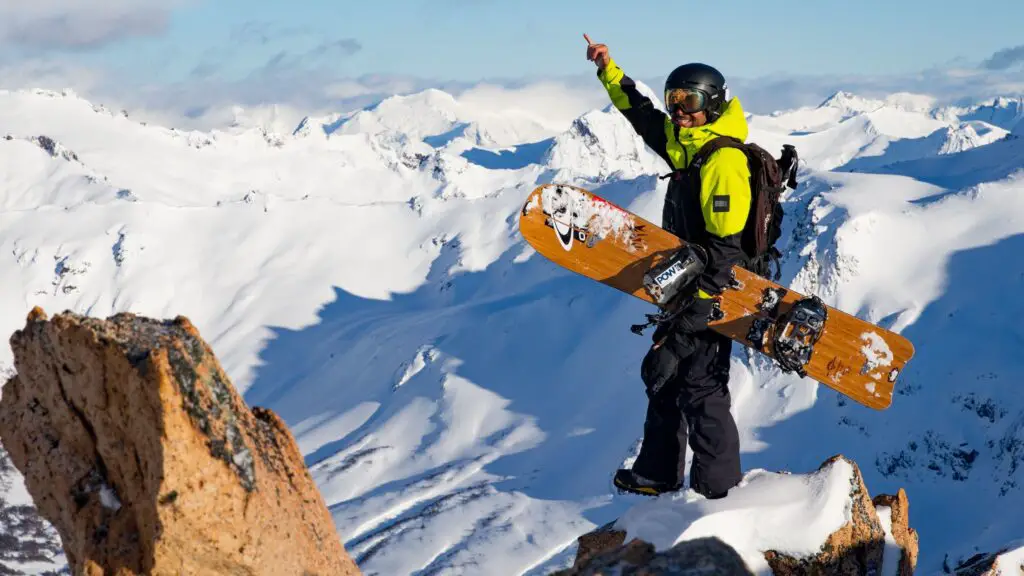
A splitboard is a snowboard that can be split into two different parts. This is as simple as the definition can get. It differs from a traditional snowboard as it allows a skier to travel uphill conveniently. It fits amazingly well in a backpack.
The base of a splitboard comes with an adhesive skin attached to its base. This has to be removed once you have reached the top point and you are trying to prepare for descent.
Different Shapes

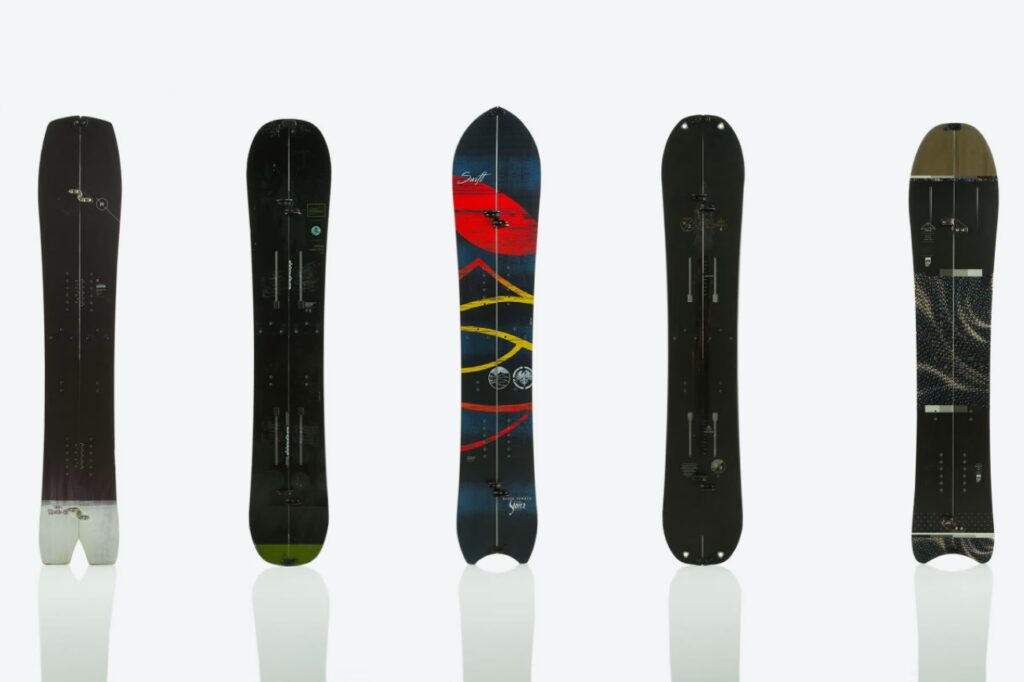
You get to choose the best splitboard based on your preference. There are generally three types of shapes offered in the market. Every shape serves different benefits.
While one shape may suit your needs, it may not suit another person’s needs. We recommend you discuss your needs with a professional before purchasing a splitboard.
Directional Twin
Freestyling is the most popular form of skiing. If you are a fan of this category then you can go with Directional Twin. It is a much better choice for freestyle.
This applies to everyone irrespective of your skiing level. You may be a beginner or a professional, this shape would fulfill your freestyling needs.
It is adaptive to every kind of condition. It offers a stance that is slightly towards the back while the flex and shape depend on the model you purchase.
True Twin
A True Twin is often compared with Directional Twin. Both the shapes walk hand in hand with a lot of similarities. The only difference lies in True Twin offering a stance that is centered on the splitboard. It gives a decent touch to freestyling.
You may still want to go with Directional Twin if you are a diehard fan of performing freestyling. You can consider True Twin for a better descent.
Directional
The shape nicely competed with the traditional snowboard. Beginners find it easier to ski down the hill with a splitboard that has a directional shape. It helps a skier to better ski in one particular direction. You can still perform a few zig-zags; however, you may not feel the rhythm.
It has got a longer and softer nose. This makes it good for flotation. If you are trying to imagine how its tail looks, then it is shorter as compared to the nose.
Assembly Process

The process is fairly simple. You may require a little bit of practice. This comes in handy if you love to ski every day from a point that is several miles above the ground. Additionally, it helps you to pack and unpack your splitboard better.
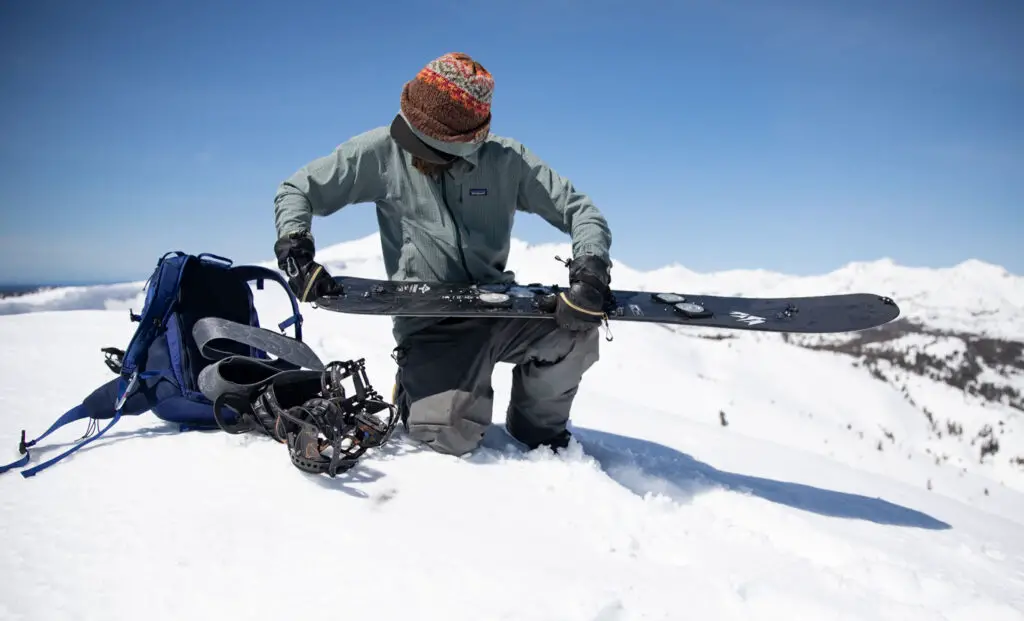
Remove Bindings
It is time to remove the bindings once you have walked your way uphill. All you have to do is unclamp a pedal. This would detach the bindings from the toe hinges of a splitboard. Once removed, adjust the forward lean to a comfortable position.
The comfortable position differs for every skier. The most common one that prevails is the forward position.
Lose Climbing Skins
It is great when you want to travel to the uphill point from where you are looking to start your descent. You may want to lose them after reaching that point. Every splitboard comes with an attached tail strap. Use it to remove the climbing skins.
Remember to press the splitboard to the snow. It gets very slippery after removing the climbing skin. It can slide down immediately after you place it on the snow. Hence, as a precautionary measure, press it down the snow.
Join The Splits
The splitboard generally comes in two separate splits. This means that you are required to join them carefully before venturing on to the adventure of returning to the point. It is only practice that will help you to join the splits faster. Try to do it at home before you take it out.
You merely have to position the metal edges to meet in the middle and slide the splits to align their tip and tail.
Check Nose And Tail
This usually forms a part of the previous point itself. You must check if the nose and tail have been aligned properly. Fasten their clips and latches in case they have not been fastened. It is important to perform the previous three steps properly. One mistake can cost you to revisit the first step.
The alignment is what helps the splits to stay together. The better you fix them, the better you ski down the hill.
Attach Bindings
Attach the bindings back to the splitboard. Simply slide them onto the binding interface and lock them up using latches. The final shape must have the ratchets to the outside. These are the same bindings that you removed in the first step.
The joined splits, or rather a splitboard will perform smoothly provided you have left no stone unturned till now.
Final Review
Conduct a thorough inspection of what you have done till now. Every step of assembling the splitboard is crucial. You cannot skip a single step. Perform a visual review. This would give you a better idea.
Any gap left on the splitboard would be visible to you. Review the alignment as well.
Positives

The splitboard is better than a traditional snowboard in three ways.
Safety
You can spread your weight better over a splitboard. This reduces the chances of falling, making it safer to travel across the glacier.
Width
The grip is a lot better as a splitboard offers more width as compared to the traditional snowboard. This is also why a splitboard is considered to be a better option for icy climbs.
Comfort
The base is much more comfortable. It gives you the feel of a high-quality ski boot. You would still be required to purchase snowboard boots but the comfort would be more than you might have expected.
Final Words
There are also a few materials that you might want to familiarise yourself with. The most common ones include fiberglass and carbon. These affect the overall weight of the splitboard.
While fiberglass is economical, it is heavier than carbon, a material that happens to be expensive. Carbon is mostly preferred by a skier if he or she is looking to ski for a longer distance.


